
Icing Sugar Cookies
Icing Sugar Cookie are the perfect combination of baking and creativity. These buttery, tender cookies are made with a simple sugar cookie base and decorated with colorful royal icing to match any occasion — from holidays to birthdays, baby showers, or just a fun afternoon in the kitchen.What makes these cookies extra special is how customizable they are. You can use your favorite cookie cutters, colors, and piping styles to create one-of-a-kind treats that are as fun to make as they are to eat.Whether you're baking with kids, preparing festive party favors, or trying your hand at cookie art, these icing sugar cookies are a sweet and joyful project anyone can enjoy.
Equipment
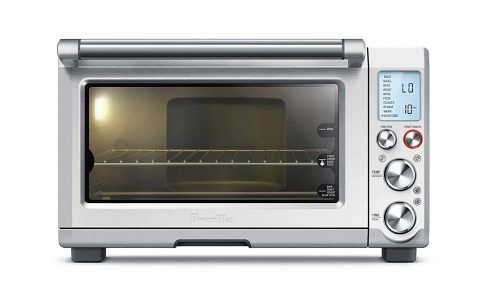
- Oven
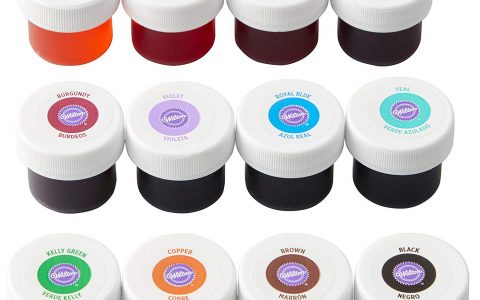
- Gel Food Color
- Cookie Cutter
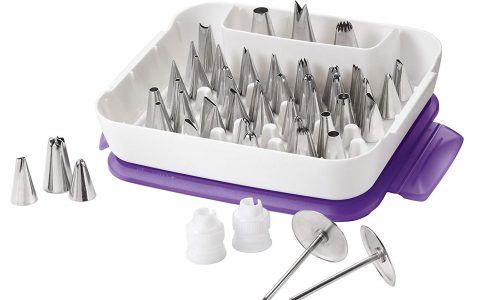
- Decorating Tip
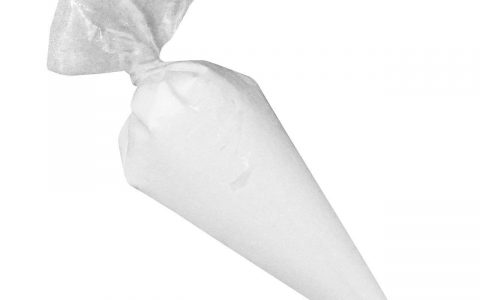
- Pastry Bag
Ingredients
Cookies
- 100 g unsalted butter
- 70 g icing sugar
- 1/4 tsp salt
- 1 egg (around 40g)
- 200 g cake flour
- 1/2 tsp vanilla extract
Icing
- 45 g egg white
- 20 g icing sugar
- Gel Food Color (optional)
Instructions
- Soften the butter, and add the sugar and the salt in a bowl. Beat together until combined. Add the egg, the vanilla extract and the flour, beat until completely combined.
- Flat the dough and cover it with plastic wrap and place into the fridge about 30 mins until ready to bake.
- Take the dough out from the fridge, and roll into a 5mm thick circle. Cut into shapes with any cookie cutter.
- Bake in the preheated oven 340°F (170°C) for 10~12 mins, remove from oven and place aside.
- Beat the egg whites with a whisk in a bowl until frothy. Then add the sugar and mix on low speed until sugar is completely mixed and shiny. (Use immediately or store in an airtight container in the fridge for up to 3 days)
- Separate the icing into individual bowls for how many colors you need, add gel food coloring and decorate your cookies. (Decorate your sugar cookies by first outlining the border, then fill in the middle with flood icing)
- After decorating your cookies, dry the cookies.
- Bake the cookies in the preheated oven 210°F (100°C) for 10 mins, remove from oven and place aside to cool completely.
- Finish and enjoy your time.